Solar Water Pump System Commissioning and Acceptance Checklist: A Step-by-Step Field Guide
Introduction
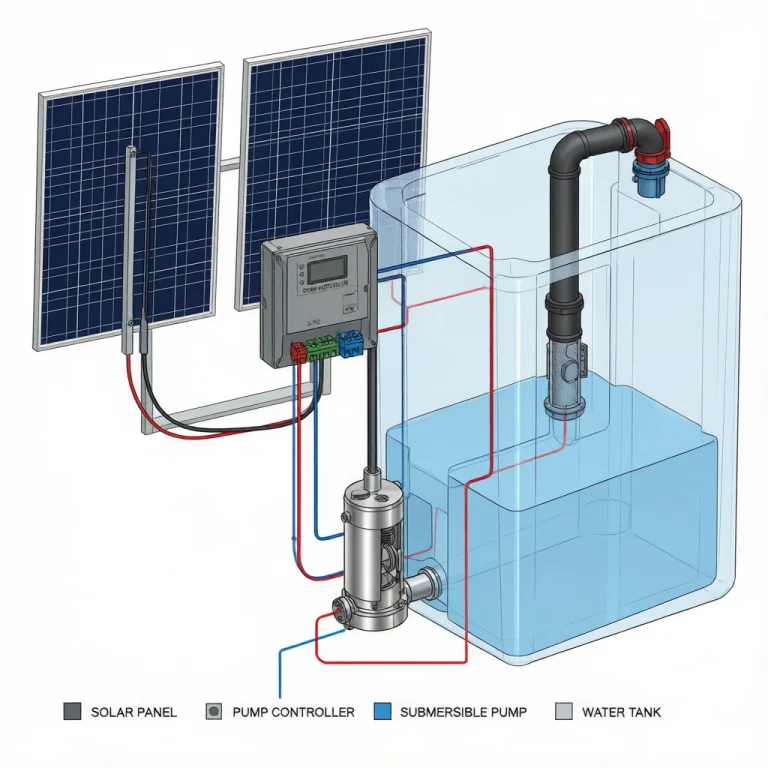
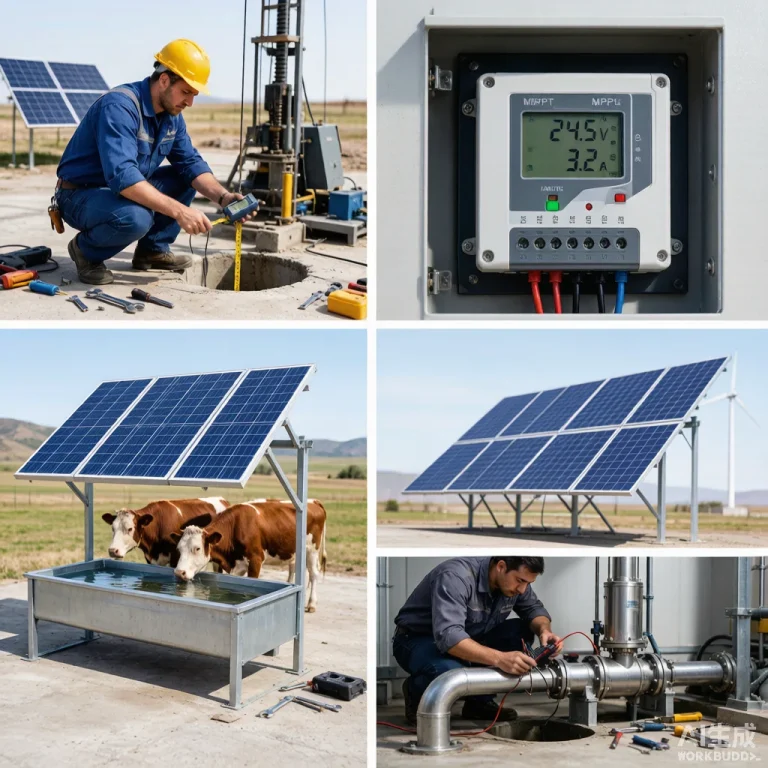
A solar water pump system is only as good as its commissioning. Most early failures—dry running, reverse-polarity controller trips, priming loss, nuisance over-voltage cutouts—are not component defects; they are commissioning gaps. KINBO treats commissioning as a documented acceptance process, not a “switch it on and hope” moment, because a clean handover prevents the warranty calls and reputation damage that follow a sloppy one. This guide gives field crews and installers a step-by-step commissioning and acceptance checklist: what to verify before power, the mechanical and electrical sequence, controller setup, a performance acceptance test with pass/fail numbers, and the safety and handover steps that close the job. Run it in order, record every reading, and the system will start right and stay running.
Before You Start
Commissioning begins with paperwork and a safe worksite, not with the panels. Confirm the as-built layout matches the design, gather the datasheets, and stage tools and personal protective equipment.
- Pump curve, controller manual, PV module STC ratings, and the signed design drawing on site.
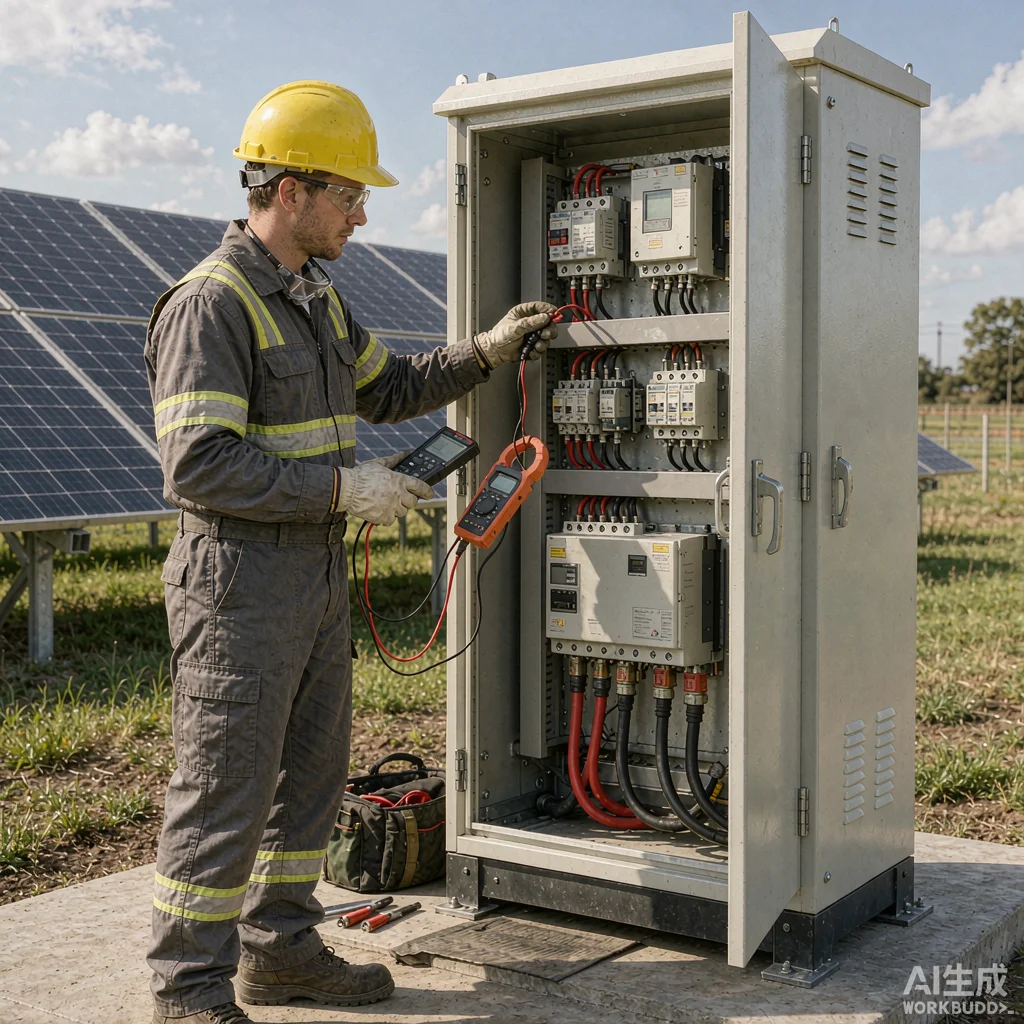
- Insulated tools, CAT III multimeter, clamp meter, torque wrench, and DC-rated PPE.
- Isolation switches on both PV and pump side, clearly labelled and within reach.
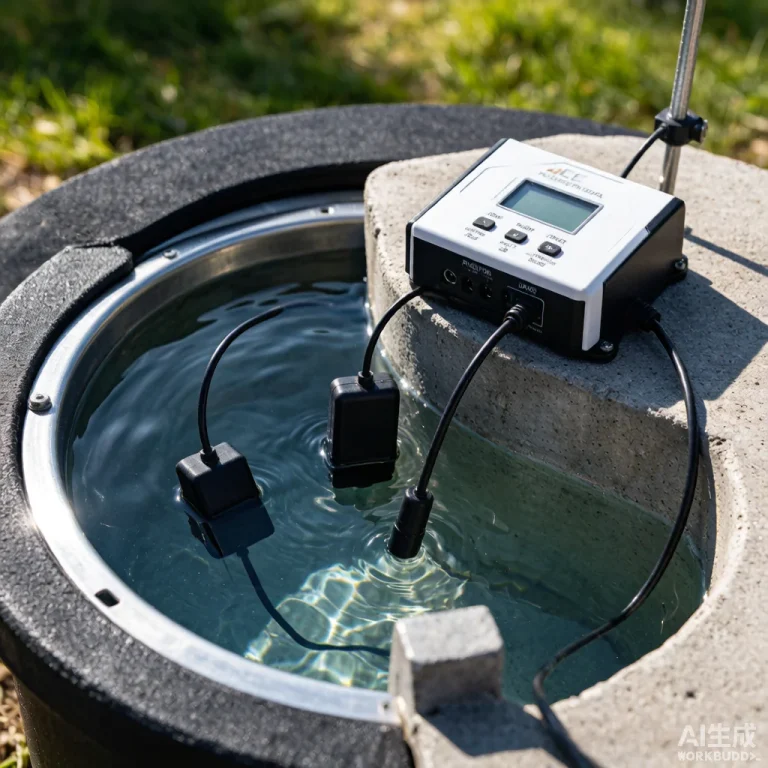
- Water source confirmed (well, tank, or open intake) and suction line clear of blockages.
Mechanical Commissioning
Mechanical faults surface first and are cheapest to fix before electrical energization.
Mounting and Alignment
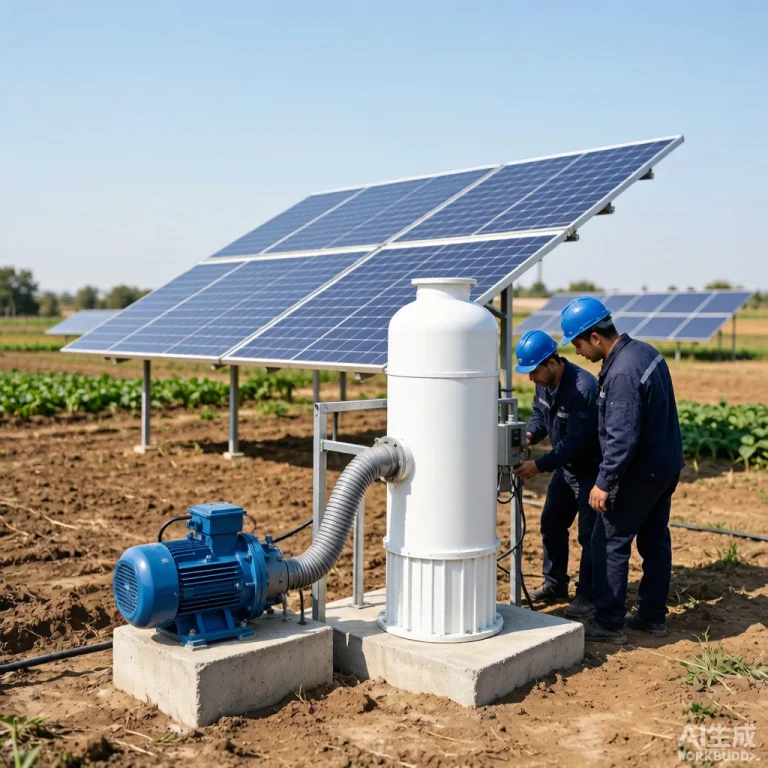
Verify the pump is seated squarely, the base is rigid, and the motor shaft (for surface sets) is aligned to the pump. Check submersible cable hangers and that the drop pipe is supported, not hanging on the pump threads. Loose mounts vibrate and wreck seals within a season.
Piping and Priming
Confirm all joints are tight and the foot valve holds prime. For suction lifts, fill the line and prove it holds vacuum—a leaking foot valve is the classic cause of “pump runs but no water.” Vent high points and verify the discharge path is open before start.
Electrical Commissioning
Energize only after the mechanical side is signed off and isolation is proven open.
PV Array Check
With the array isolated, measure open-circuit voltage (Voc) of each string in full sun. It should be within ~5% of the nameplate sum and the same across parallel strings; large mismatch signals a shaded, faulty, or miswired module. Confirm polarity before connecting to the controller.
Controller and Wiring
Check every terminal torque, conductor size, and the presence of correct fusing and an RCD where grid-backed. Verify the pump motor leads match the controller output (three-phase versus DC) and that earthing is continuous from array frame to tank to controller enclosure.
Controller Setup and Protection
The controller is where most preventable trips are set or missed. Configure it to the site, not to factory default.
| Parameter | Set To | Why It Matters |
|---|---|---|
| Max Voc headroom | > cold-string Voc | Prevents winter over-voltage trip |
| Dry-run / low-pressure | Enabled | Stops seal burn on lost prime |
| Soft start / ramp | On | Cuts inrush and water hammer |
| MPPT voltage window | Match array | Maximizes harvest at this Vmp |
Performance Acceptance Test
The acceptance test proves the system meets the design, not just that it spins. Measure at a clear, documented time near local solar noon and compare to the pump curve.
| Measured Quantity | Acceptance Criterion |
|---|---|
| Flow rate at duty head | ≥ 95% of curve value |
| Input DC voltage / current | Within array Vmp / Imp |
| Motor current vs nameplate | ≤ 100% FLC at duty |
| No-load and loaded vibration | No abnormal noise |
Load and Soak Test
Run the system at duty for at least 30 minutes. Watch for creeping motor temperature, controller nuisance faults, and any pressure sag. A correctly sized PV configuration should hold voltage in the MPPT window through the whole test without hitting any protective limit.
Safety and Handover
Close the job with the operator able to run it safely and the paperwork complete.
- Label every isolation point and leave the controller manual on site.
- Demonstrate dry-run protection by simulating low source level, if safe to do so.
- Record commissioning readings, serial numbers, and the acceptance sign-off sheet.
- Train the operator on prime loss, winter Voc, and who to call for service.
Frequently Asked Questions
Why does the controller trip on sunny winter mornings?
Cold panels raise Voc above the controller’s max input. The fix is setting the controller headroom above the coldest-expected string voltage, or adding a string that keeps Voc in range.
How do I confirm the pump is primed before start?
Fill the suction line and prove the foot valve holds vacuum—no air seepage for a few minutes. On start, watch discharge pressure build immediately; delayed pressure means lost prime.
What is the single most skipped step?
Recording actual commissioning readings. Crews “switch on and go,” then have no baseline when a fault appears months later. A signed acceptance sheet saves the warranty argument.
Can I commission without a clamp meter?
You can verify mechanical and basic electrical safety, but you cannot prove the motor current matches the nameplate or that the array is balanced. A clamp meter is essential for a real acceptance test.
Commission with Confidence with KINBO
KINBO ships every system with a commissioning sheet matched to the controller model and offers remote acceptance support so your first start is also your last callback. Contact our technical team for the controller-specific checklist.
Related Articles
Solar Water Pump System Grounding and Lightning Protection
Solar Pump System Voltage Selection: 12V vs 24V vs 48V vs 96V