Solar Water Pump System Grounding and Lightning Protection: A Complete Surge-Safe Design Guide
Introduction
Solar water pump systems sit exposed in fields, on rooftops, and across open rangeland—exactly where lightning and power surges strike hardest. A single induced surge can destroy a controller, fry a brushless DC motor, or wipe out the MPPT charge regulator in milliseconds. For farms and remote installations that depend on uninterrupted water, that failure means crop loss, livestock stress, and an emergency service call. KINBO has field-tested thousands of off-grid solar pumping kits across monsoon and thunderstorm regions, and the difference between a system that survives ten years and one that dies in a single season almost always comes down to grounding and surge protection done right. This guide walks through practical, code-aligned steps: how to design a grounding electrode network that holds resistance under 10 ohms, where to place surge protective devices (SPDs) on the DC and AC sides, how to bond all metallic parts into a single equipotential zone, and which inspection routine catches corrosion before it kills the bond. Whether you are specifying a 300 W backyard unit or a 5 kW irrigation station, the principles scale and the cost of skipping them is never worth the saving.
Why Solar Pump Systems Are Lightning Magnets
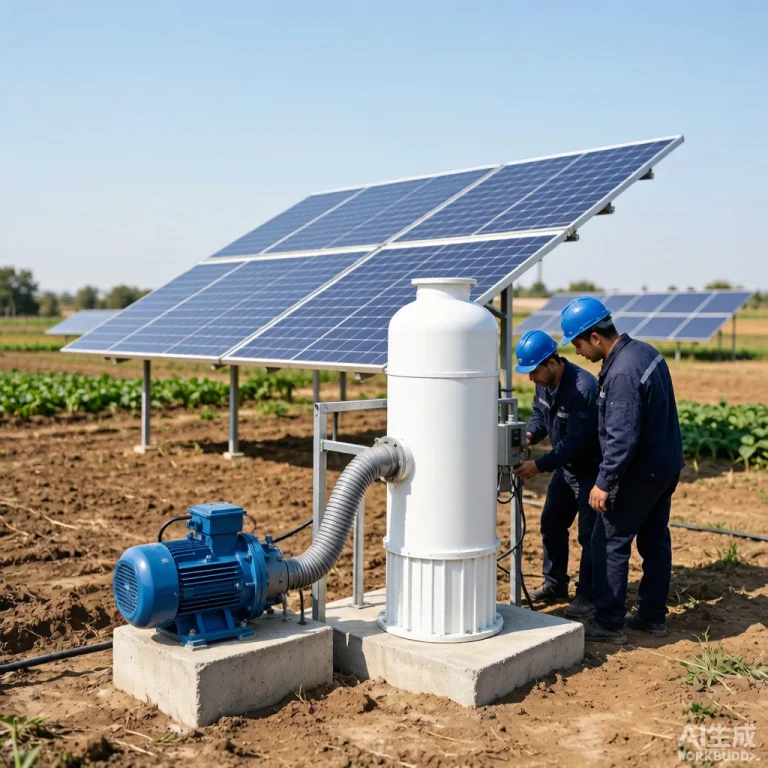
A solar pumping site concentrates every lightning hazard in one place. Long PV array cables act like antennas, the pump motor sits at the bottom of a deep well or at the end of a metal riser pipe, and the controller is the sensitive electronic brain connecting them. Two distinct threats matter:
Direct vs Induced Strikes
A direct strike is rare but catastrophic—it follows the path of least resistance straight into your equipment. Far more common is the induced surge: a nearby strike couples thousands of volts onto your DC cabling through electromagnetic induction, traveling inward and destroying the controller even when the sky overhead looks clear. Both require the same defense: a low-impedance path to earth and clamping devices that divert the energy before it reaches semiconductors.
Why Distance Does Not Protect You
Many installers assume a strike 200 meters away is harmless. It is not. Induced overvoltages routinely appear 300–500 meters from the strike point, and buried well casing can carry potential gradients that enter the motor winding. A proper solar panel configuration guide always pairs the array layout with a grounding plan, never one without the other.
Grounding Electrode Design
The grounding electrode is your system’s anchor to earth. The goal is a measured resistance low enough that surge current dissipates instantly rather than bouncing back into the equipment.
Target Resistance and Electrode Layout
For pump controllers and SPDs to work, aim for a ground resistance of ≤10 Ω, ideally ≤4 Ω in high-lightning zones. A single 2.4 m copper-clad rod rarely gets there in dry or sandy soil, so use a ring or radial field: three to four rods driven 2.4–3 m deep and bonded with 25 mm² bare copper, spaced at least their length apart, encircling the pump house. In rocky ground, a horizontal buried ring (40–60 mm² copper tape, 0.5 m deep) outperforms vertical rods.
| Soil Type | Typical Resistance (Ω·m) | Recommended Electrode |
|---|---|---|
| Clay / loam | 10–50 | 2–3 rods, 2.4 m copper-clad |
| Sandy / dry | 100–500 | Radial ring + bentonite backfill |
| Rocky | >1000 | Deep driven rod + chemical ground |
| Wet pasture | 20–80 | Ring earth around pump house |
Measuring and Improving Resistance
Use a 3-point fall-of-potential tester, not a continuity beep. If readings exceed 10 Ω, lengthen the radial field, add rods, or backfill around electrodes with conductive bentonite clay. KINBO pre-sizes the electrode kit to the soil class declared at order, but a site check always wins.
Surge Protective Devices (SPDs)
Grounding alone cannot clamp fast transients—that is the SPD’s job. An SPD reacts in nanoseconds, shunting surge current to ground before it reaches the controller.
Where to Place Surge Arresters
Install a Type 1+2 combined arrester at the array combiner box (DC side) and a Type 2 device at the controller AC output or the pump terminal. Place the SPD as close to the protected equipment as possible—every 30 cm of extra lead length adds inductance that raises the clamping voltage. Use DC-rated modules (Voc + safety margin, typically 600–1000 V) on the solar side and AC-rated modules on the grid or pump side.
Key Selection Rules
- Match the SPD’s maximum continuous operating voltage (Uc) to your string voltage with at least 20% headroom.
- Choose nominal discharge current (In) ≥ 20 kA for exposed rural sites.
- Use modules with a visible fault indicator and a replaceable cartridge—sealed “fit and forget” units fail silently.
- Bond the SPD’s earth terminal directly to the electrode with the shortest possible copper run.
Equipotential Bonding
Separate grounds create a voltage difference during a strike—exactly the spark that jumps across your motor bearings. Bonding ties every metallic object to one potential.
What Must Be Bonded
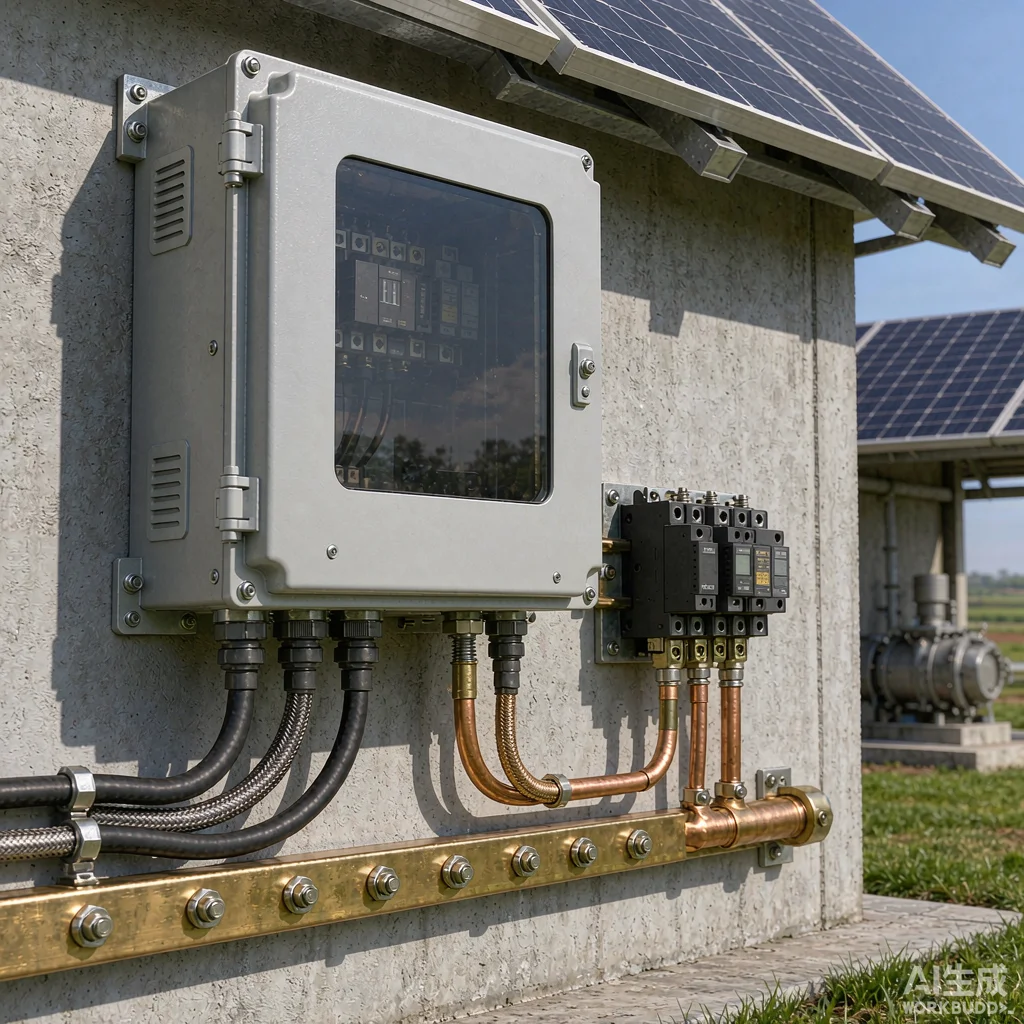
Connect the array frame, mount rails, controller enclosure, pump body, well casing or riser pipe, water tank, and the electrode ring with a continuous 16–25 mm² green/yellow conductor. The pump’s own earth must join the same electrode, never a separate stake. This equipotential zone means a surge lifts everything together instead of arcing through the equipment.
Real-World Failure Cases
Case A: The Unbonded Submersible
A 1.5 kW submersible in a 60 m well ran fine for eight months, then failed after a storm 400 m away. The well casing was left floating; the induced surge entered the motor winding and shorted it. Adding a bonded casing clamp and a DC-side SPD restored service—cost of the fix was under 5% of the motor replacement.
Case B: The Long SPD Lead
A controller kept dying despite an installed arrester. The SPD’s earth lead was 1.2 m of thin wire, adding enough inductance to let 1.5 kV through. Shortening the lead to 15 cm and thickening it to 25 mm² stopped the failures.
Inspection and Maintenance
Grounding degrades quietly. Corrosion at clamp joints and dried soil around rods raise resistance year over year.
- Re-measure ground resistance every 12 months, ideally at the dry-season low.
- Check every clamp for tightness and green corrosion; refresh antioxidant paste.
- Confirm SPD indicator windows are still green; replace any aged module proactively.
- After any nearby strike, test before restarting the pump.
Frequently Asked Questions
Do I really need grounding if my pump is small?
Yes. A 300 W system still has a 300 V DC string and a sensitive controller. Lightning does not size its target by wattage. Even the smallest KINBO kit ships with a grounding terminal and we recommend a minimum 2-rod electrode.
Can I connect the pump earth to the building’s electrical ground?
Only if that ground already meets ≤10 Ω and you bond to the same electrode ring. Never run a separate stake for the pump—parallel grounds invite potential differences. Single shared equipotential zone is the rule.
How often should SPDs be replaced?
Type 2 devices degrade with each clamped surge. Inspect annually and replace when the indicator shows fault or after any major nearby strike, even if the pump still runs.
Will grounding stop every lightning failure?
No system is invincible against a direct hit, but correct grounding plus Type 1+2 SPDs eliminates the far more common induced-surge deaths that account for the vast majority of field failures.
Get a Surge-Safe Configuration
KINBO engineers size the grounding electrode, SPD stages, and bonding scheme to your soil class and array voltage as part of every off-grid package. Contact our technical team for a site-specific protection drawing before your next installation.
Related Articles
Solar Panel Tilt Angle Optimization for Solar Water Pumps: A Latitude and Seasonal Guide
Solar Pump MPPT vs PWM Charge Controller: Which Should You Choose