Solar Pump Installation Best Practices: Mounting, Wiring and Commissioning for Reliable Long Life
Introduction
A solar pump is only as reliable as its installation. Good solar pump installation best practices prevent the majority of field failures and protect the warranty. This guide covers mounting, DC wiring, controller siting, and a commissioning checklist. While KINBO builds protection into its controllers, correct site work remains the installer’s responsibility.
Table of Contents
Site Survey and Controller Siting
Start with the sun and the water. Confirm the array will be unshaded from morning to afternoon, and place the controller where it stays cool and dry. Avoid sealed boxes facing direct midday sun with no airflow; heat is the enemy of electronics. Keep DC runs as short as practical to reduce voltage drop on the array-to-controller leg.
A quick shade and soil check also protects the install. Avoid low spots where water pools, and keep the controller above the flood line. A few minutes on site with the sun path in mind prevents years of avoidable corrosion and overheating.
Panel Mounting and Wiring
| Do | Don’t |
|---|---|
| Use UV-rated DC cable | Reuse household AC wire |
| Tilt to site latitude | Lay panels flat against soil |
| Strain-relieve all entries | Leave connectors dangling |
| Label positive and negative | Rely on memory under a panel |
For the panel math behind string sizing, see our guide on how to configure solar panels for water pumps before finalizing the array.
Controller and Pump Connection
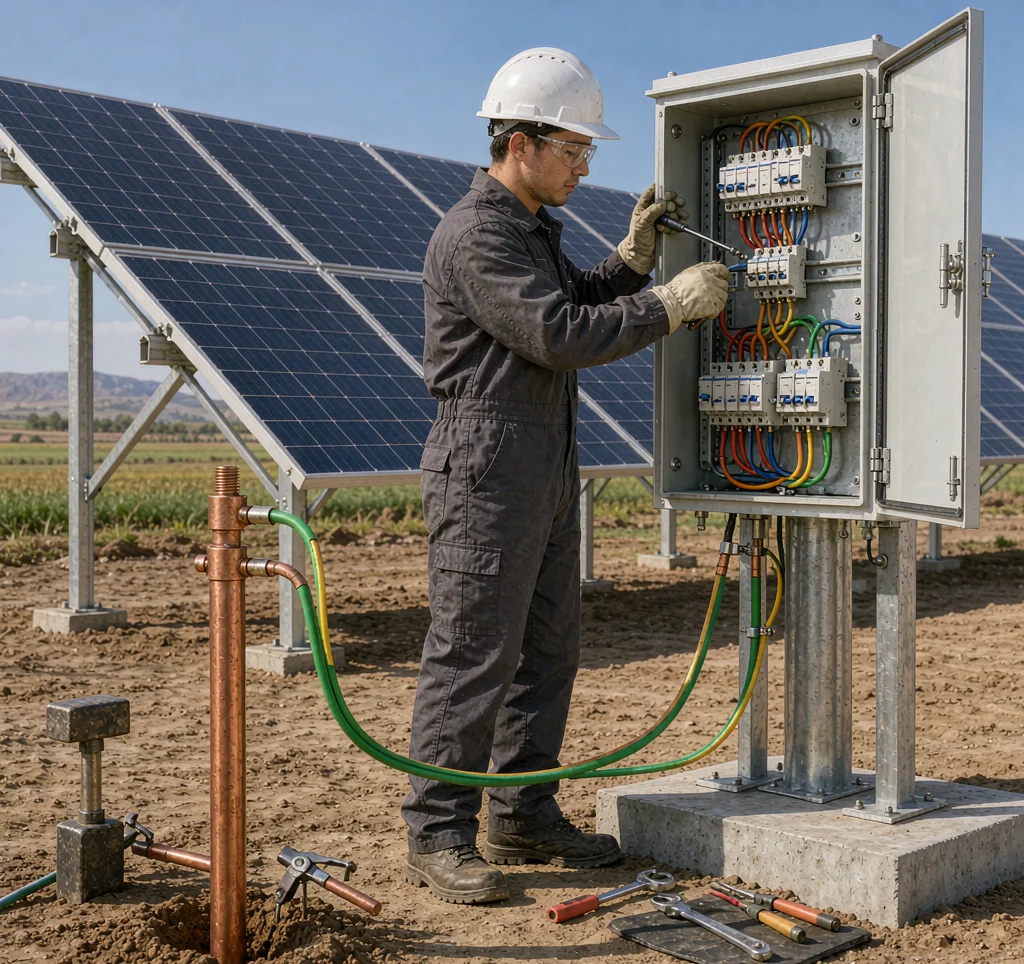
Connect the array last, after the pump and controller are wired and verified. Match polarity precisely, torque terminations to spec, and confirm the earthing path is continuous from panel frame to controller to pump body. A clean, bonded ground is what keeps a lightning-prone site running for years.
Lock the enclosure after wiring and keep the key with the operator, not in a distant office; a controller that can be opened and inspected is one that actually gets inspected.
Commissioning Checklist
- Verify open-circuit array voltage is within the controller window.
- Confirm pump rotates freely and the intake screen is clear.
- Energize at low sun; watch the current ramp for 60 seconds.
- Test the dry-run trip by lowering the source sensor.
- Record settings, label the enclosure, and hand over the log to the operator.
Document the commissioning readings. Recording open-circuit voltage, start current, and the dry-run trip result gives the next technician a baseline, so a future fault is judged against the system’s own healthy numbers rather than a guess.
Frequently Asked Questions
Should panels be tilted or flat?
Tilt to roughly site latitude for best annual yield; flat mounting collects dust and loses output, especially in dusty areas.
Why use UV-rated DC cable?
Standard wire degrades under sun and heat, increasing resistance and fire risk; DC-rated cable is built for the environment.
Can I connect the array before the pump?
No. Wire and verify the pump and controller first, then connect the array last to avoid energizing an incomplete system.
How long should commissioning take?
A careful first run with the checks above is usually under an hour and prevents most early failures.
For B2B buyers planning and installing solar pumping systems, contact KINBO for competitive FOB pricing and technical specifications.
Related Articles
- Solar Pump Inverter Fault Codes and Troubleshooting
- Solar-Powered Community Water Supply: A Case Study
- Explore KINBO Built-in Controller Solar Pumps